Understanding Vue's nextTick: How to Safely Access the DOM After Data Updates
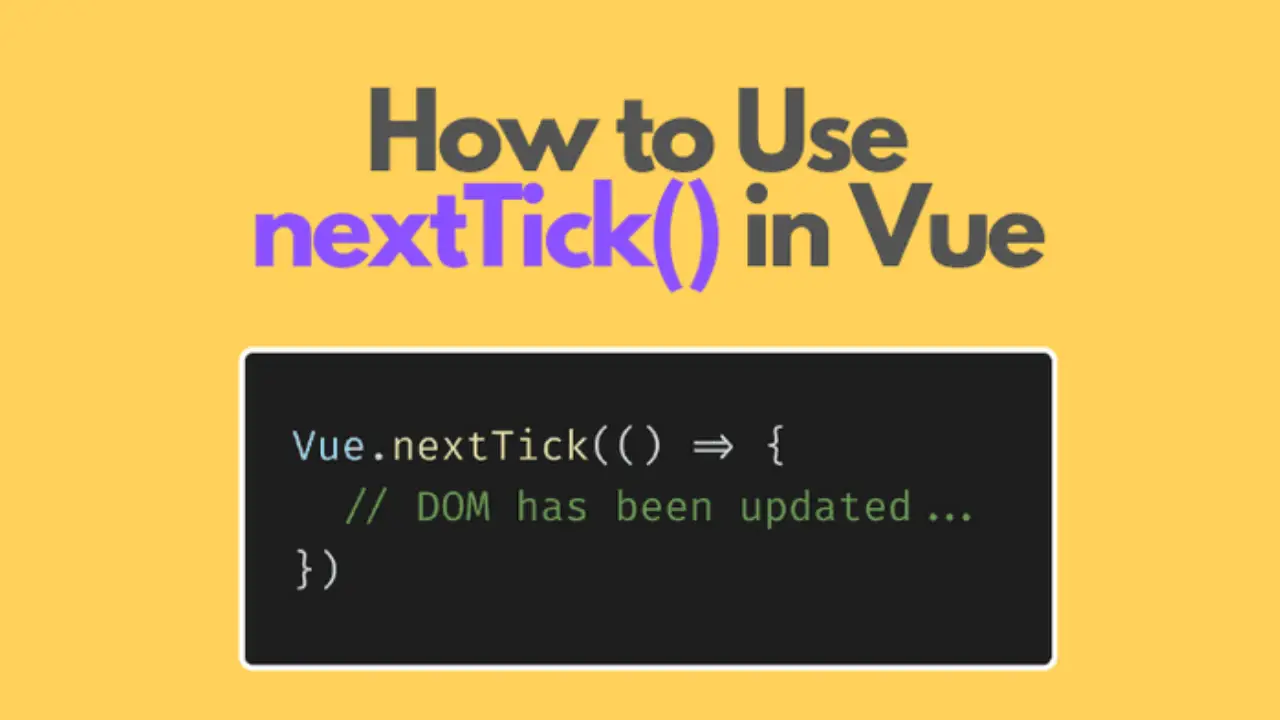
Understanding Vue's nextTick: How to Safely Access the DOM After Data Updates
Vue.js is a progressive JavaScript framework widely used for building user interfaces and single-page applications. One of the powerful features that Vue offers is its reactivity system, which ensures that the UI reflects data changes in real time. However, with this reactivity comes a challenge: how to safely access the DOM after Vue updates its data and re-renders the UI. This is where Vue’s nextTick function comes into play.
In this comprehensive guide, we'll explore the concept of Vue’s nextTick, why it's essential for DOM updates, and how to use it effectively to access the DOM after data changes. We'll also look at examples and best practices for working with nextTick to ensure smooth UI interactions and performance.
What is Vue's nextTick?
Vue’s nextTick is a utility function that allows you to execute a function after the DOM has been updated in response to reactive data changes. When data changes in Vue, the DOM is updated asynchronously. This means that changes to the DOM are not immediate; they are scheduled to occur in the next "tick" of the event loop.
In some cases, you may want to access the updated DOM immediately after a data change, such as when you need to measure elements, trigger animations, or manipulate the DOM directly. Vue’s nextTick helps you ensure that your code runs only after the DOM has been fully updated, providing a safe and reliable way to interact with the DOM after data changes.
The Problem of DOM Access During Data Changes
Vue’s reactivity system works by observing data changes and re-rendering the DOM asynchronously. When you modify data, Vue doesn’t immediately update the DOM but queues the changes to be applied later. This can lead to situations where, if you try to access the DOM right after making changes to the data, the DOM might not reflect the latest updates yet.
For example, consider the following scenario:
this.someData = 'New value';
console.log(document.getElementById('myElement'));  // Might not reflect the new value yet
In the above code, the DOM update might not be applied immediately after changing someData, meaning that accessing the DOM could return outdated or incorrect values. To handle this, Vue provides the nextTick function.
How Does Vue's nextTick Work?
Vue’s nextTick schedules a callback to be executed after the next DOM update cycle. When you use nextTick, you are instructing Vue to delay the execution of the callback until all DOM updates have been completed. This ensures that any DOM manipulation or queries you perform will reflect the latest data changes.
Here’s an example of using nextTick:
this.someData = 'New value';
this.$nextTick(() => {
  console.log(document.getElementById('myElement'));  // Now the DOM is updated with the new value
});
In this example, the callback inside $nextTick will only run once Vue has updated the DOM in response to the change in someData. This guarantees that the DOM is in sync with the data, and you can safely access the updated elements.
When to Use Vue's nextTick
nextTick is useful in a variety of scenarios. Here are some common use cases where you might need it:
1. Accessing DOM Elements After Data Changes
When you update data that affects the layout of your page (e.g., modifying the width of an element or adding/removing elements), you might want to access the DOM after Vue has re-rendered. This is especially important for cases like animation, where you need the correct element dimensions or visibility state.
For example, if you're animating an element based on its size, you need to ensure that the DOM has been updated with the new size before you trigger the animation:
this.someData = 'New value';
this.$nextTick(() => {
  const element = document.getElementById('myElement');
  // Now it's safe to trigger an animation based on the updated DOM
});
2. Triggering Third-Party Libraries or Plugins
If you're using third-party libraries or plugins that manipulate the DOM (like jQuery or a charting library), those libraries may need to interact with the DOM after Vue’s reactivity system has updated it. By using nextTick, you can ensure that these libraries only interact with the updated DOM.
this.someData = 'New value';
this.$nextTick(() => {
  // Call a third-party library that manipulates the DOM
  someLibrary.init();
});
3. Avoiding Layout Thrashing
Layout thrashing occurs when you read and write to the DOM in a way that forces multiple reflows or repaints. This can negatively impact performance. Using nextTick helps to avoid this problem by allowing you to batch DOM reads and writes.
Instead of reading the DOM immediately after data changes and then writing to it, you can wait for the next tick to perform both actions together:
this.someData = 'New value';
this.$nextTick(() => {
  const element = document.getElementById('myElement');
  element.style.width = `${element.offsetWidth + 10}px`; // Perform read and write together
});
The Syntax of Vue's nextTick
In Vue, nextTick is available as a global API and also as an instance method:
- Global API:
Vue.nextTick(callback) - Instance Method:
this.$nextTick(callback)
Both methods work the same way and allow you to pass a callback function that will be executed once the DOM is updated. Here’s a simple example:
Vue.nextTick(() => {
  console.log('DOM is updated');
});

this.$nextTick(() => {
  console.log('DOM is updated from instance');
});
Best Practices for Using Vue's nextTick
While nextTick is a powerful tool, it’s essential to use it wisely to avoid potential issues like unnecessary delays in your application’s performance. Here are a few best practices for using nextTick effectively:
1. Avoid Overuse of nextTick
Using nextTick is necessary when you need to interact with the DOM after Vue has updated it. However, it’s important not to overuse it. Overusing nextTick can lead to unnecessary complexity in your code and can impact performance if not used correctly. Use it only when you need to ensure that DOM updates are completed before interacting with the elements.
2. Use nextTick for Asynchronous DOM Updates
Since nextTick works asynchronously, it’s particularly useful when dealing with animations or other DOM updates that need to occur after Vue has finished rendering. By using nextTick, you ensure that your UI changes are in sync and smooth.
3. Combine nextTick with Other Lifecycle Hooks
Vue’s lifecycle hooks, such as mounted and updated, can also be used to interact with the DOM. You can combine nextTick with these hooks to execute DOM manipulation or third-party library initialization after the DOM has been updated. For instance, you could use nextTick inside the updated lifecycle hook to ensure that DOM updates are complete before performing actions.
Conclusion
Vue’s nextTick is an essential tool for working with DOM updates after reactive data changes. It ensures that your code interacts with the DOM only after Vue has completed the necessary updates, allowing you to safely manipulate the DOM or trigger animations based on the updated UI state.
By understanding how nextTick works and when to use it, you can create more efficient and reliable Vue applications that respond smoothly to data changes without compromising performance. Whether you're dealing with animations, third-party libraries, or ensuring DOM consistency, nextTick provides a straightforward and powerful solution to safely access the DOM after data updates.









0 Comments
No Comment Available